Floor Plan Photo Documentation
Floor plan photo documentation is the practice of attaching field photos to exact locations on a floor plan, roof plan, or site map. Each photo is associated with a place inside the project—not only with a folder or a date. Reviewers can open the drawing, click a room, wall, or zone, and see what was captured there.
FotoLedger pins photos to exact locations on floor plans, roof plans, and site maps. That is floor plan photo documentation: waypoints on the drawing, evidence at each pin, and a photo report people can follow without guessing rooms.
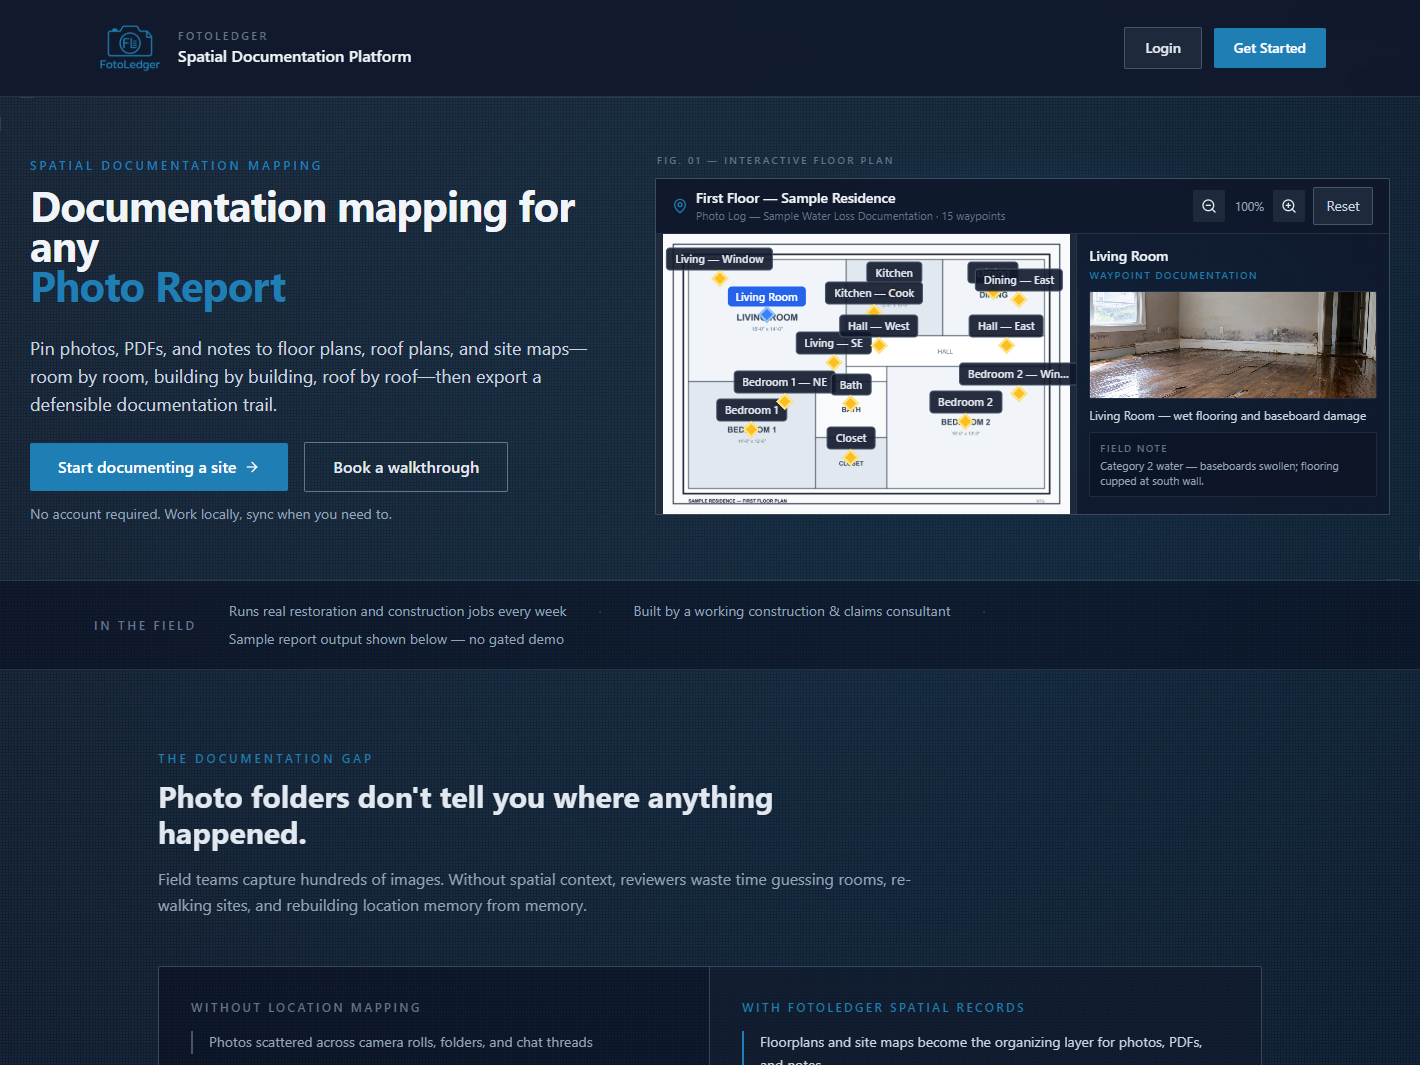
Try the interactive floor plan demo on the homepage — click a pin to see photos stay tied to the plan.
How FotoLedger works
- Upload the plan. Import a floor plan, roof plan, or site map as the spatial reference. The drawing becomes the index for every photo.
- Drop a waypoint. Place pins on rooms, walls, elevations, roof sections, or other inspection locations.
- Attach photos, notes, and documents. Capture or upload at the pin that matches where the condition occurred. Standard stills, 360 JPEGs, PDFs, and field notes live at the same place.
- Review by location. Walk the plan instead of scrolling a camera roll. Missing rooms and unlabeled photos are obvious.
- Export the spatial report. The PDF keeps location context with every image so reviewers can follow the site.
Why ordinary photo folders lose location context
Folders named after the job number or the week do not answer where a photo was taken. Which room was this? Which wall? Which section of the roof? Mapping photos to a floor plan — photo documentation by location — is the difference between a gallery and a record. Construction, restoration, inspection, and insurance teams all hit the same gap: reviewers need the place, not a timestamp.
FotoLedger is not a construction management platform. It does one job: location-based photo documentation. No RFIs, no submittals, no schedule module.
Real-world applications
The same plan-based workflow covers construction photo documentation by room and elevation, restoration photo documentation for water, fire, and mold conditions, and inspection photo reports for site and property walkthroughs. For a printable field list, see the field photo documentation checklist.
360 photos and return visits
Equirectangular 360 stills upload at the same waypoints as overview and close-up photos. Look around in the browser; the PDF includes a labeled still, not a spinning tour. That is 360 photo documentation on the plan—not a virtual-walkthrough product.
Cloud projects with more than one capture date can filter the editor by visit and export a single-date PDF or an all-dates historical PDF grouped by date at each waypoint. There is no before/after slider.
Frequently asked questions
What is floor plan photo documentation?
Attaching field photos to exact locations on a floor plan, roof plan, or site map so each image stays connected to a place inside the project—not only to a folder or a date.
How do I pin photos to a floor plan?
Upload the drawing, place a waypoint, and attach photos at that pin. For a step-by-step field walkthrough, see how to pin photos to a floor plan.
Can I map jobsite photos to a plan?
Yes. Jobsite photos attach to waypoints so crews and clients walk the drawing instead of a camera roll. Construction teams use the same workflow on construction photo documentation.
Can I attach photos to PDF floor plans?
Yes. Import the plan, place waypoints, and attach photos, PDFs, and notes. The exported report carries that trail.
How do I organize inspection photos by room?
One waypoint per room. Capture at the pin. Export a room-indexed PDF. See inspection photo reports.
How do floor plan photo reports work?
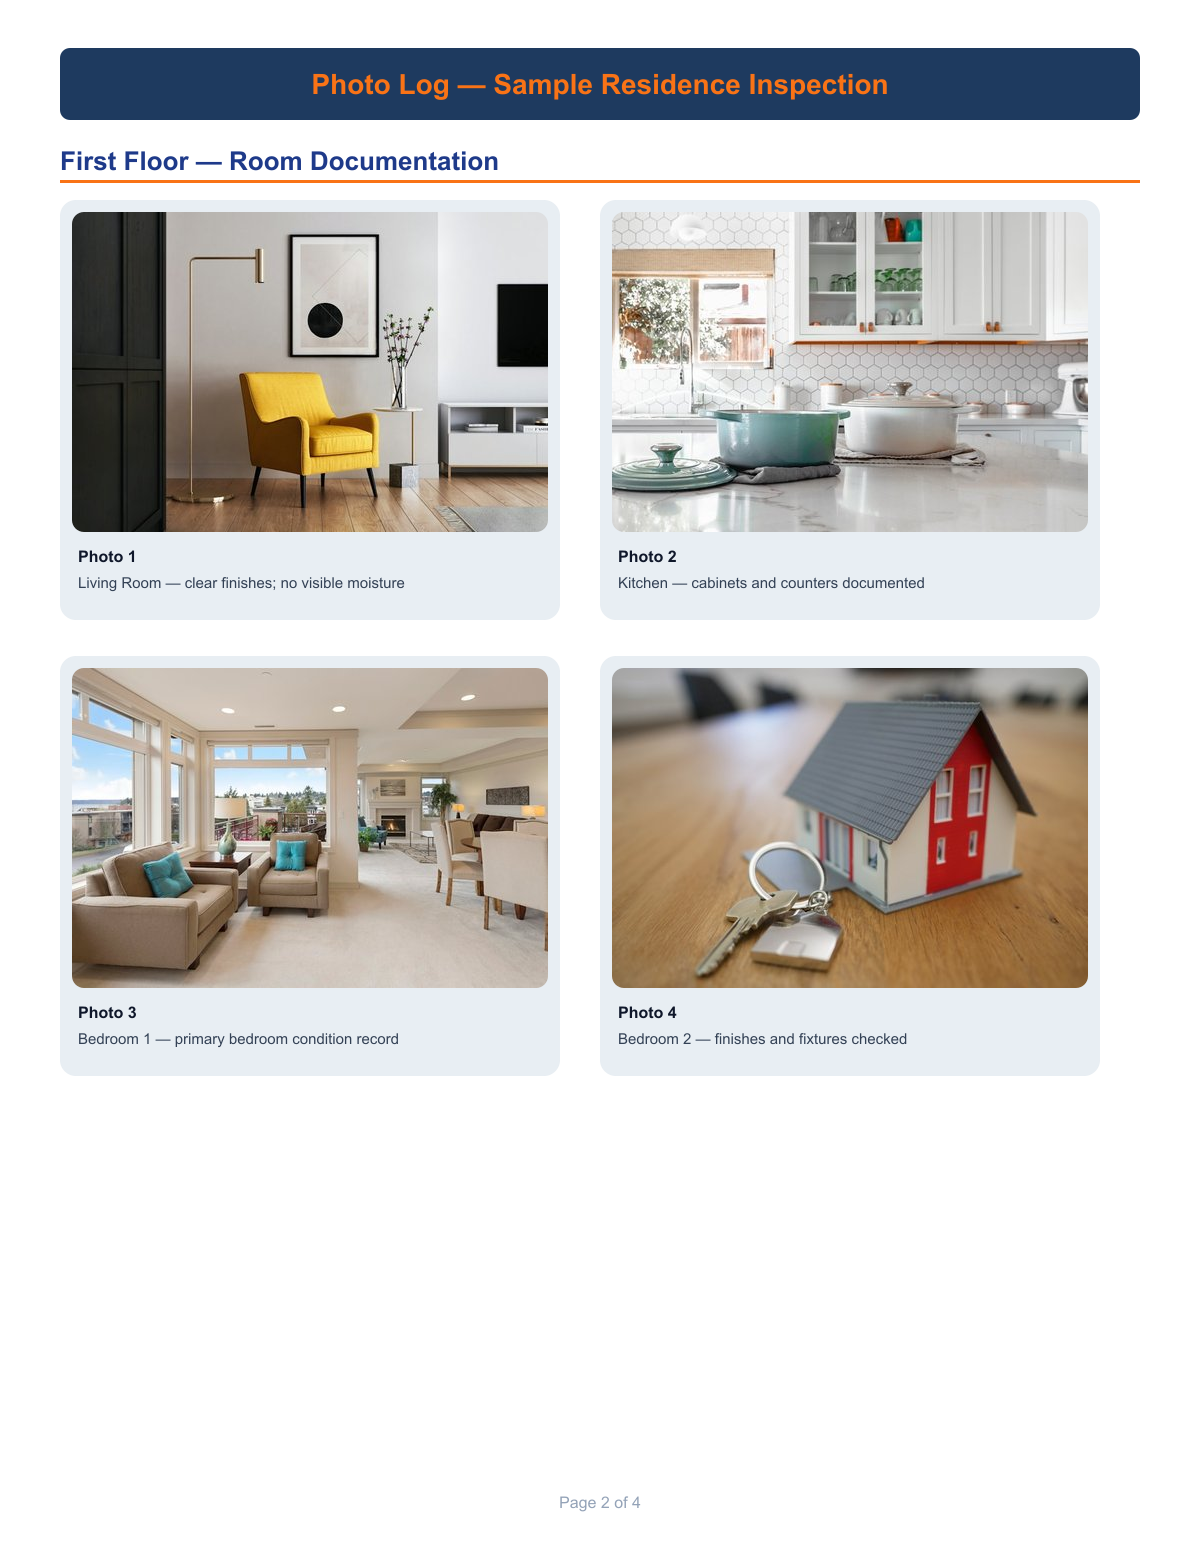
Every image in the PDF stays tied to its waypoint. That is a floor plan photo report, not a dump of files. See how to create a floor plan photo report.
Can I map photos to roof plans or site maps?
Yes. The same pins work on roof plans and site maps. Roof and exterior work is covered on roof and exterior site documentation.
Can I pin 360 photos to the floor plan?
Yes. Export an equirectangular JPEG from the 360 camera app and upload it at the waypoint. See 360 photo documentation.